Dying Light 2 struggles with optimisation, but Techland makes the zombie romp more playable with each update
The first Dying Light set the standard for just how fun freerunning should be in a game, and the developers at Techland might’ve outdone themselves with the sequel. But to fully enjoy post-apocalyptic parkour at its finest, your gaming PC needs to pump enough frames to keep things fluid, and this zombie romp might not give your system an easy time. Fortunately, we have the best Dying Light 2 settings right here, so you can get things running smoothly without the hassle of trial and error.
Before getting into the thick of it, it’s worth recognising that the game isn’t quite as optimised as it could be. Techland’s already addressed a wealth of issues with its day one patch, including a hotfix for shaky co-op connections and brushing up problems that hindered story progression, but there are still texture and sound glitches that can ruin the experience.
It might be worth giving the developer a little more time to patch these issues before hopping in, but it shouldn’t take too long with any luck, as it’s not slowing down on the barrage of post-launch hotfixes.
The game has a modest barrier to entry according to the Dying Light 2 system requirements, but a decent resolution and frame rate might be difficult for most people.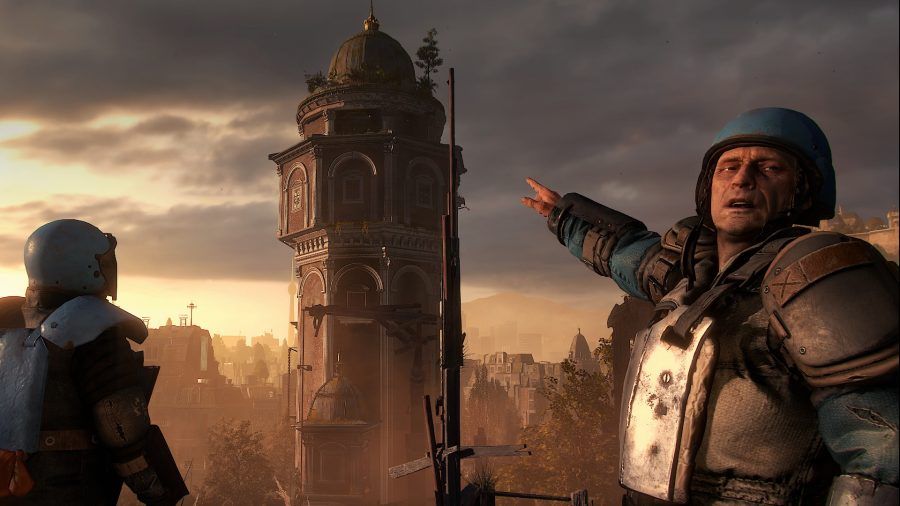
Even the best graphics cards work up a bit of a sweat, meaning you might need the aid of upscaling technologies to hit these target resolutions and frame rates, yet all three options can leave 1080p looking blurrier than native. This is because Nvidia DLSS, AMD FidelityFX Super Resolution, and the standard linear option are all designed to help achieve higher resolutions, using HD as a base.
You might notice that 1440p and 4K specs aren’t listed here, and that’s because they’re somewhat of a struggle. You might get away with the latter at 30fps provided you’re combining a current generation graphics card with your preferred upscaler, but more pixels causes the game to eat your frame rate for breakfast.
Upscaling is non-negotiable when enabling ray tracing, so we recommend sticking to DLSS Quality if you’re running a compatible GeForce RTX GPU (it’s noticeably sharper after the day one patch). FSR works as a needs must, but comes with a visual toll that its green counterpart doesn’t, such as blurrier edges to the texture of buildings.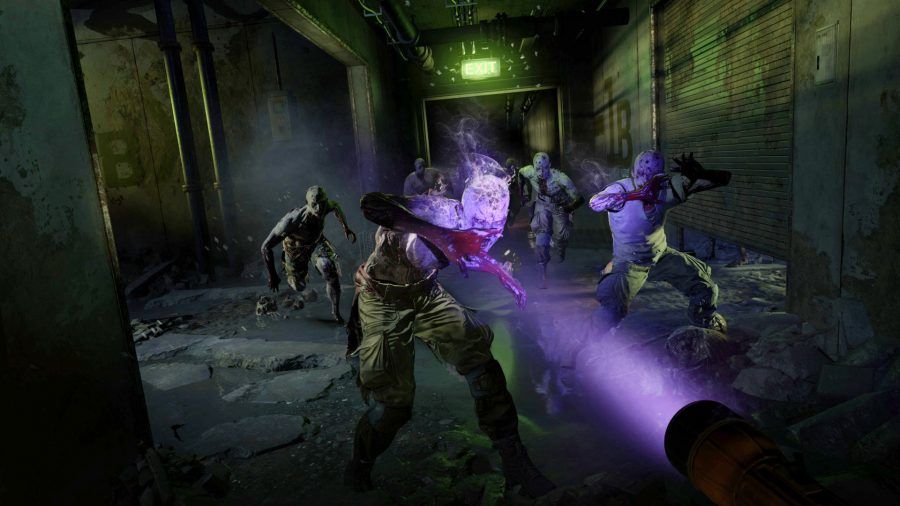
If you’re looking to dropkick zombies as quickly as possible, Dying Light 2’s five presets are a good place to start. Thankfully, they don’t adjust your resolution given that 1080p is the most that’ll be on the cards for many. That said, they also don’t tinker with upscaling, so you can do much better if you roll up your sleeves and rummage around in the individual ‘advanced settings’.
The city of Villedor is quite the sight, and one that probably shouldn’t be wasted on the Low preset if possible. It’ll cost you around 14% of your frames when jumping to Medium and just 17% to High, so you can probably skip over the middleground and crank things right up if your PC can handle it. It’s much harder to swallow the 40% dip the Raytracing preset brings from Low, or the 50% decrease from the High Quality Raytracing preset, especially if you’re aiming to keep above the 60fps mark.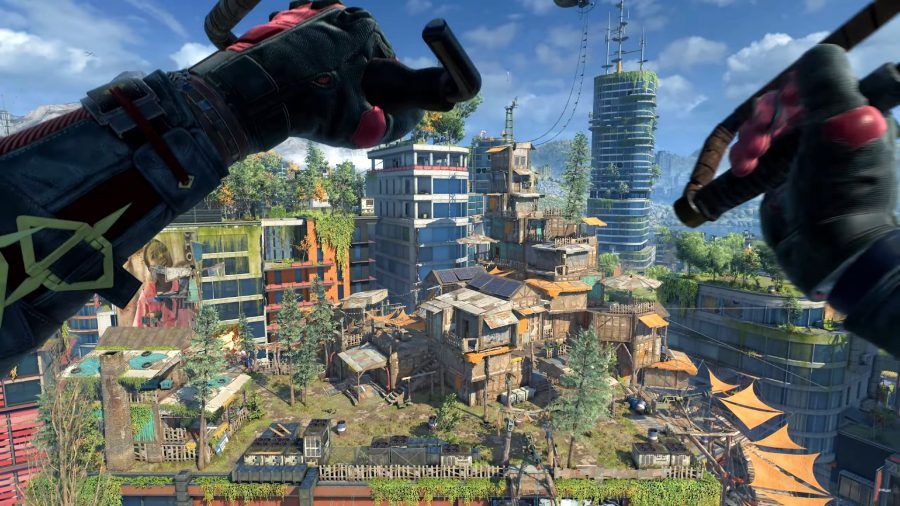
The good news is that you can fine tune the best Dying Light 2 settings to get just as many frames as the Low preset, while making it look a hell of a lot better. You’ll need to press ‘F’ on the graphics menu to access the advanced settings.
Some of these settings offer a free performance uplift, asking virtually nothing in return. The render mode selects the API you want to use, and D3D12 (DirectX 12) helps to boost fps by around 7% if your PC supports it. It also allows you to enable asynchronous compute, which adds another 10% improvement. Do note that the Low preset defaults to D3D11, though, so you’ll want to manually flick these on.
Reflections quality has the biggest impact as a single setting, with a 21% difference in frame rate between its lowest and highest. Ray traced reflections are undoubtedly gorgeous, but high is perhaps the best of both worlds, uplifting your performance by around 13% while still giving you plenty of detail.
It’s difficult to give up ray traced sun shadows quality because they’re softer and more dynamic. Bumping things down to PCF certainly makes shadows look a little harder, but it comes with an 8% boost, which is plenty worth it if you need to prioritise your frame rate.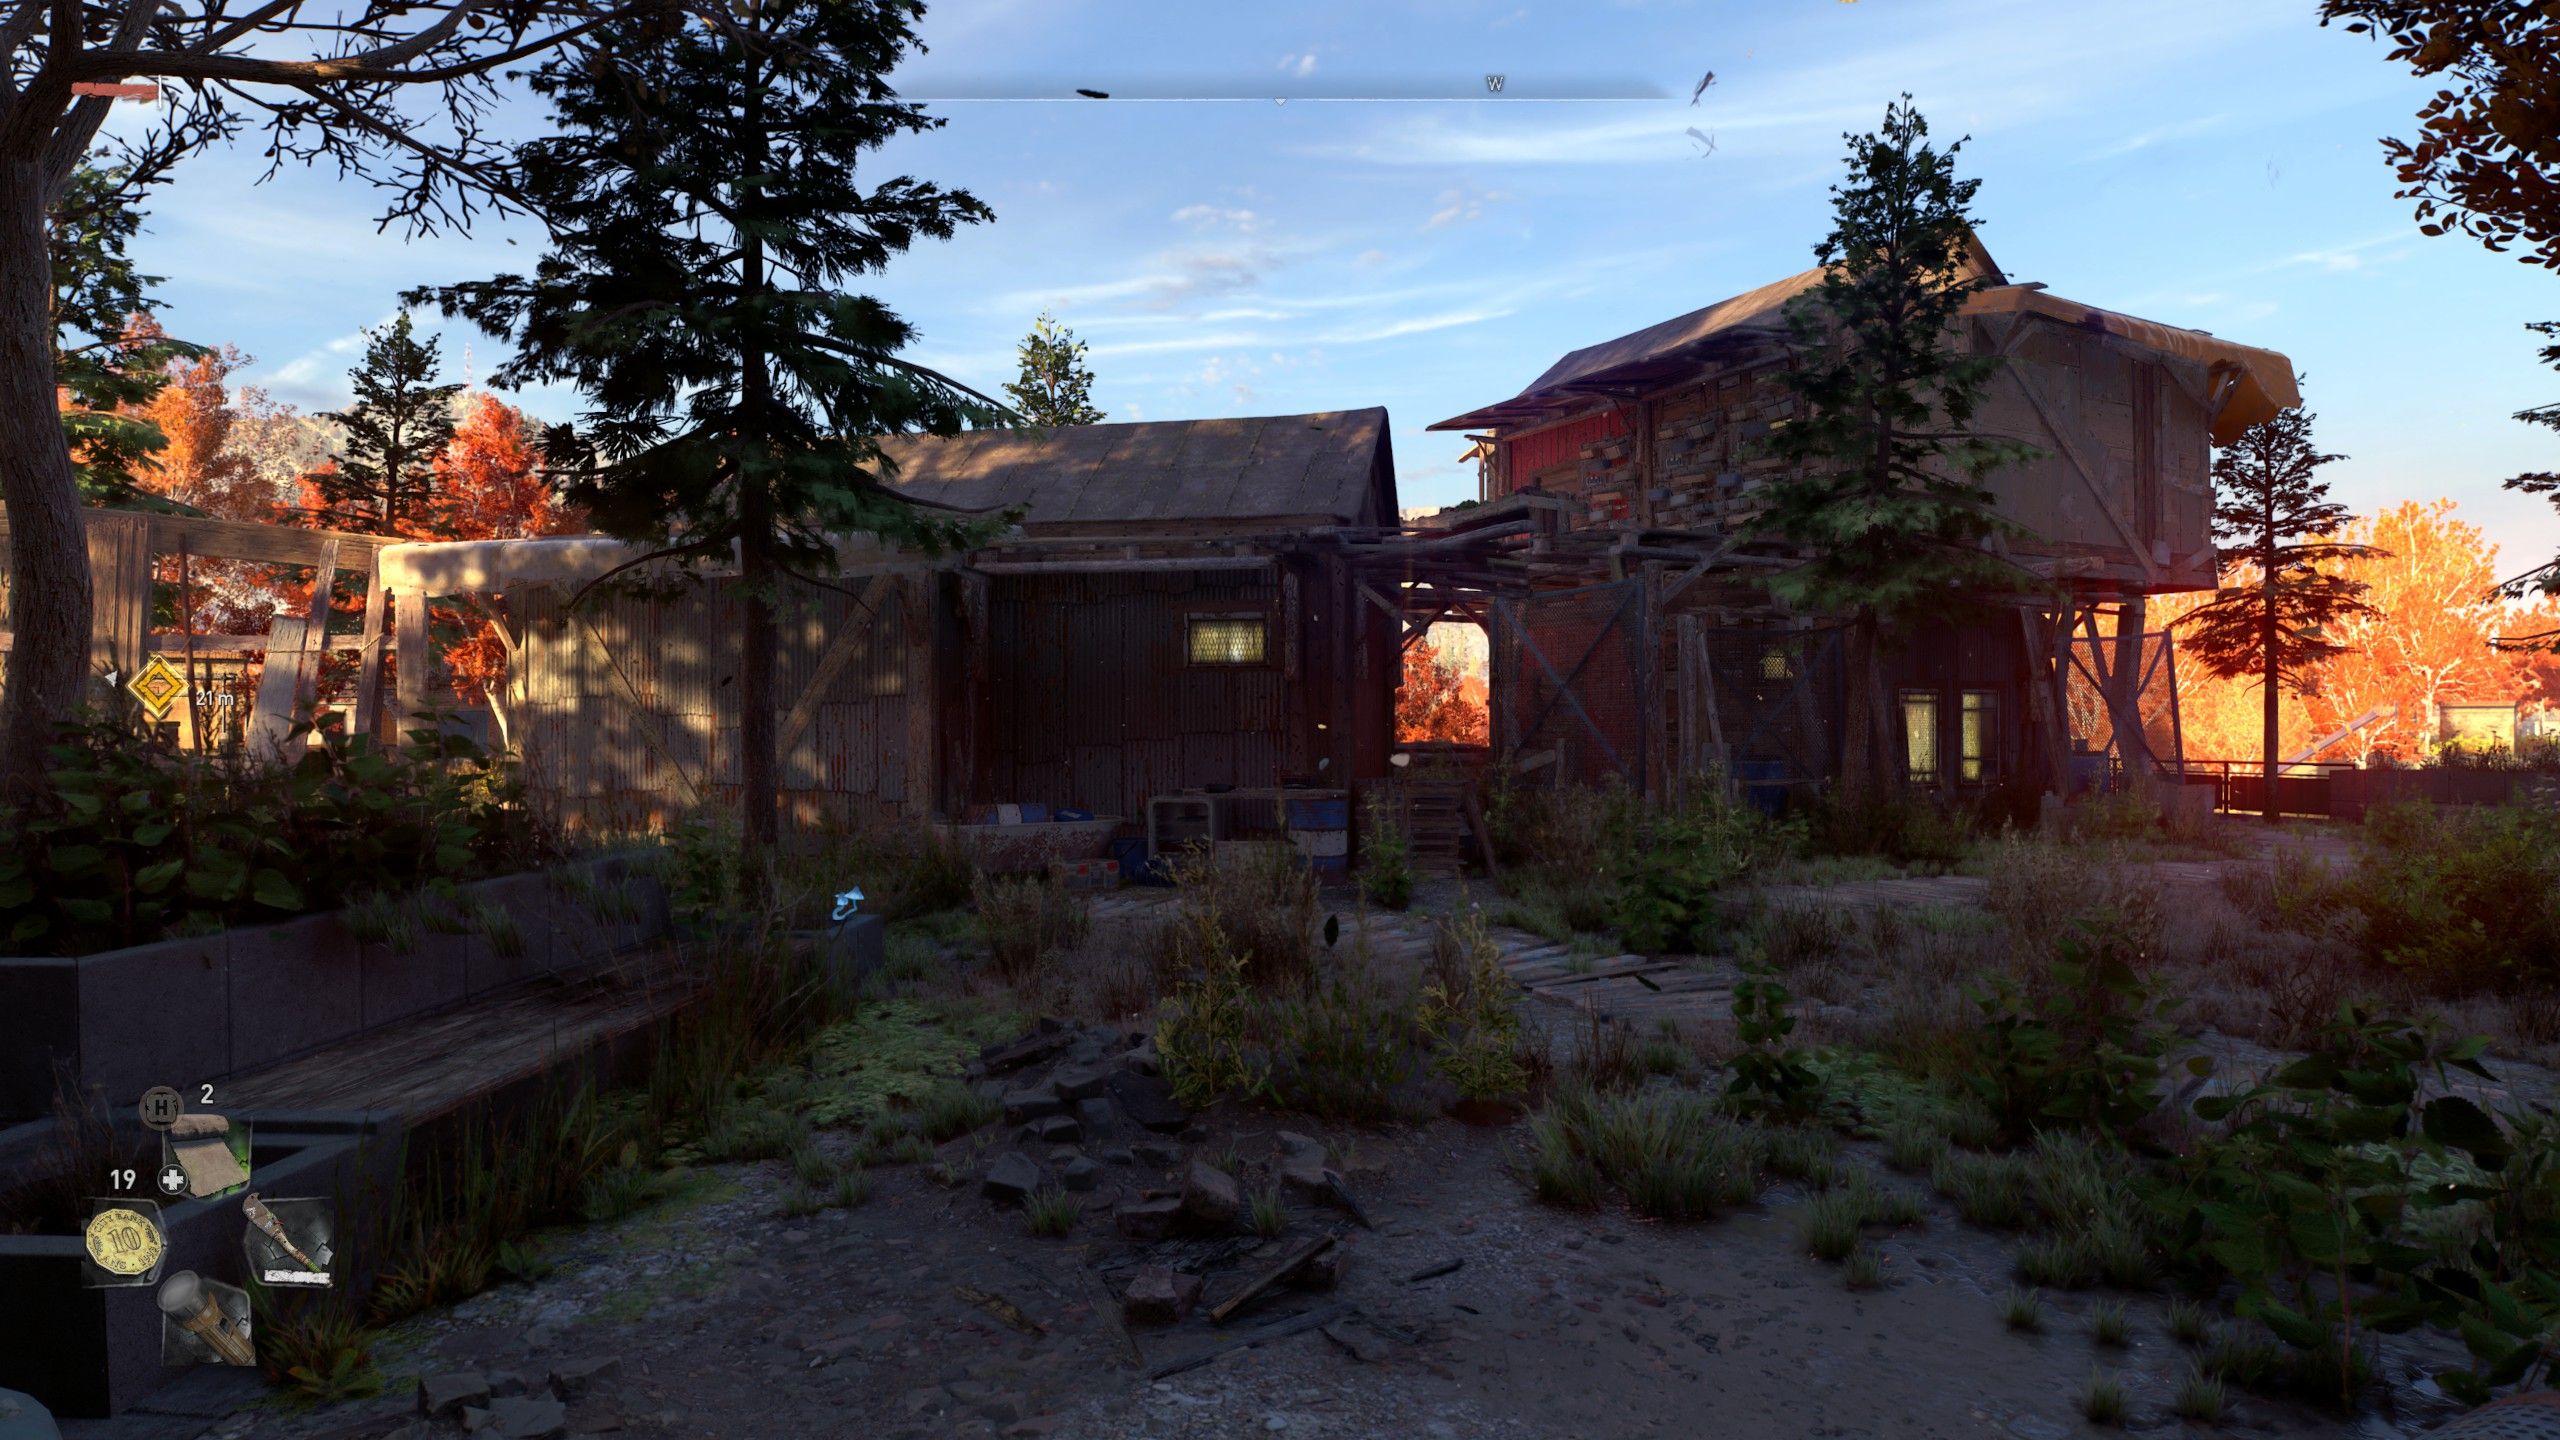
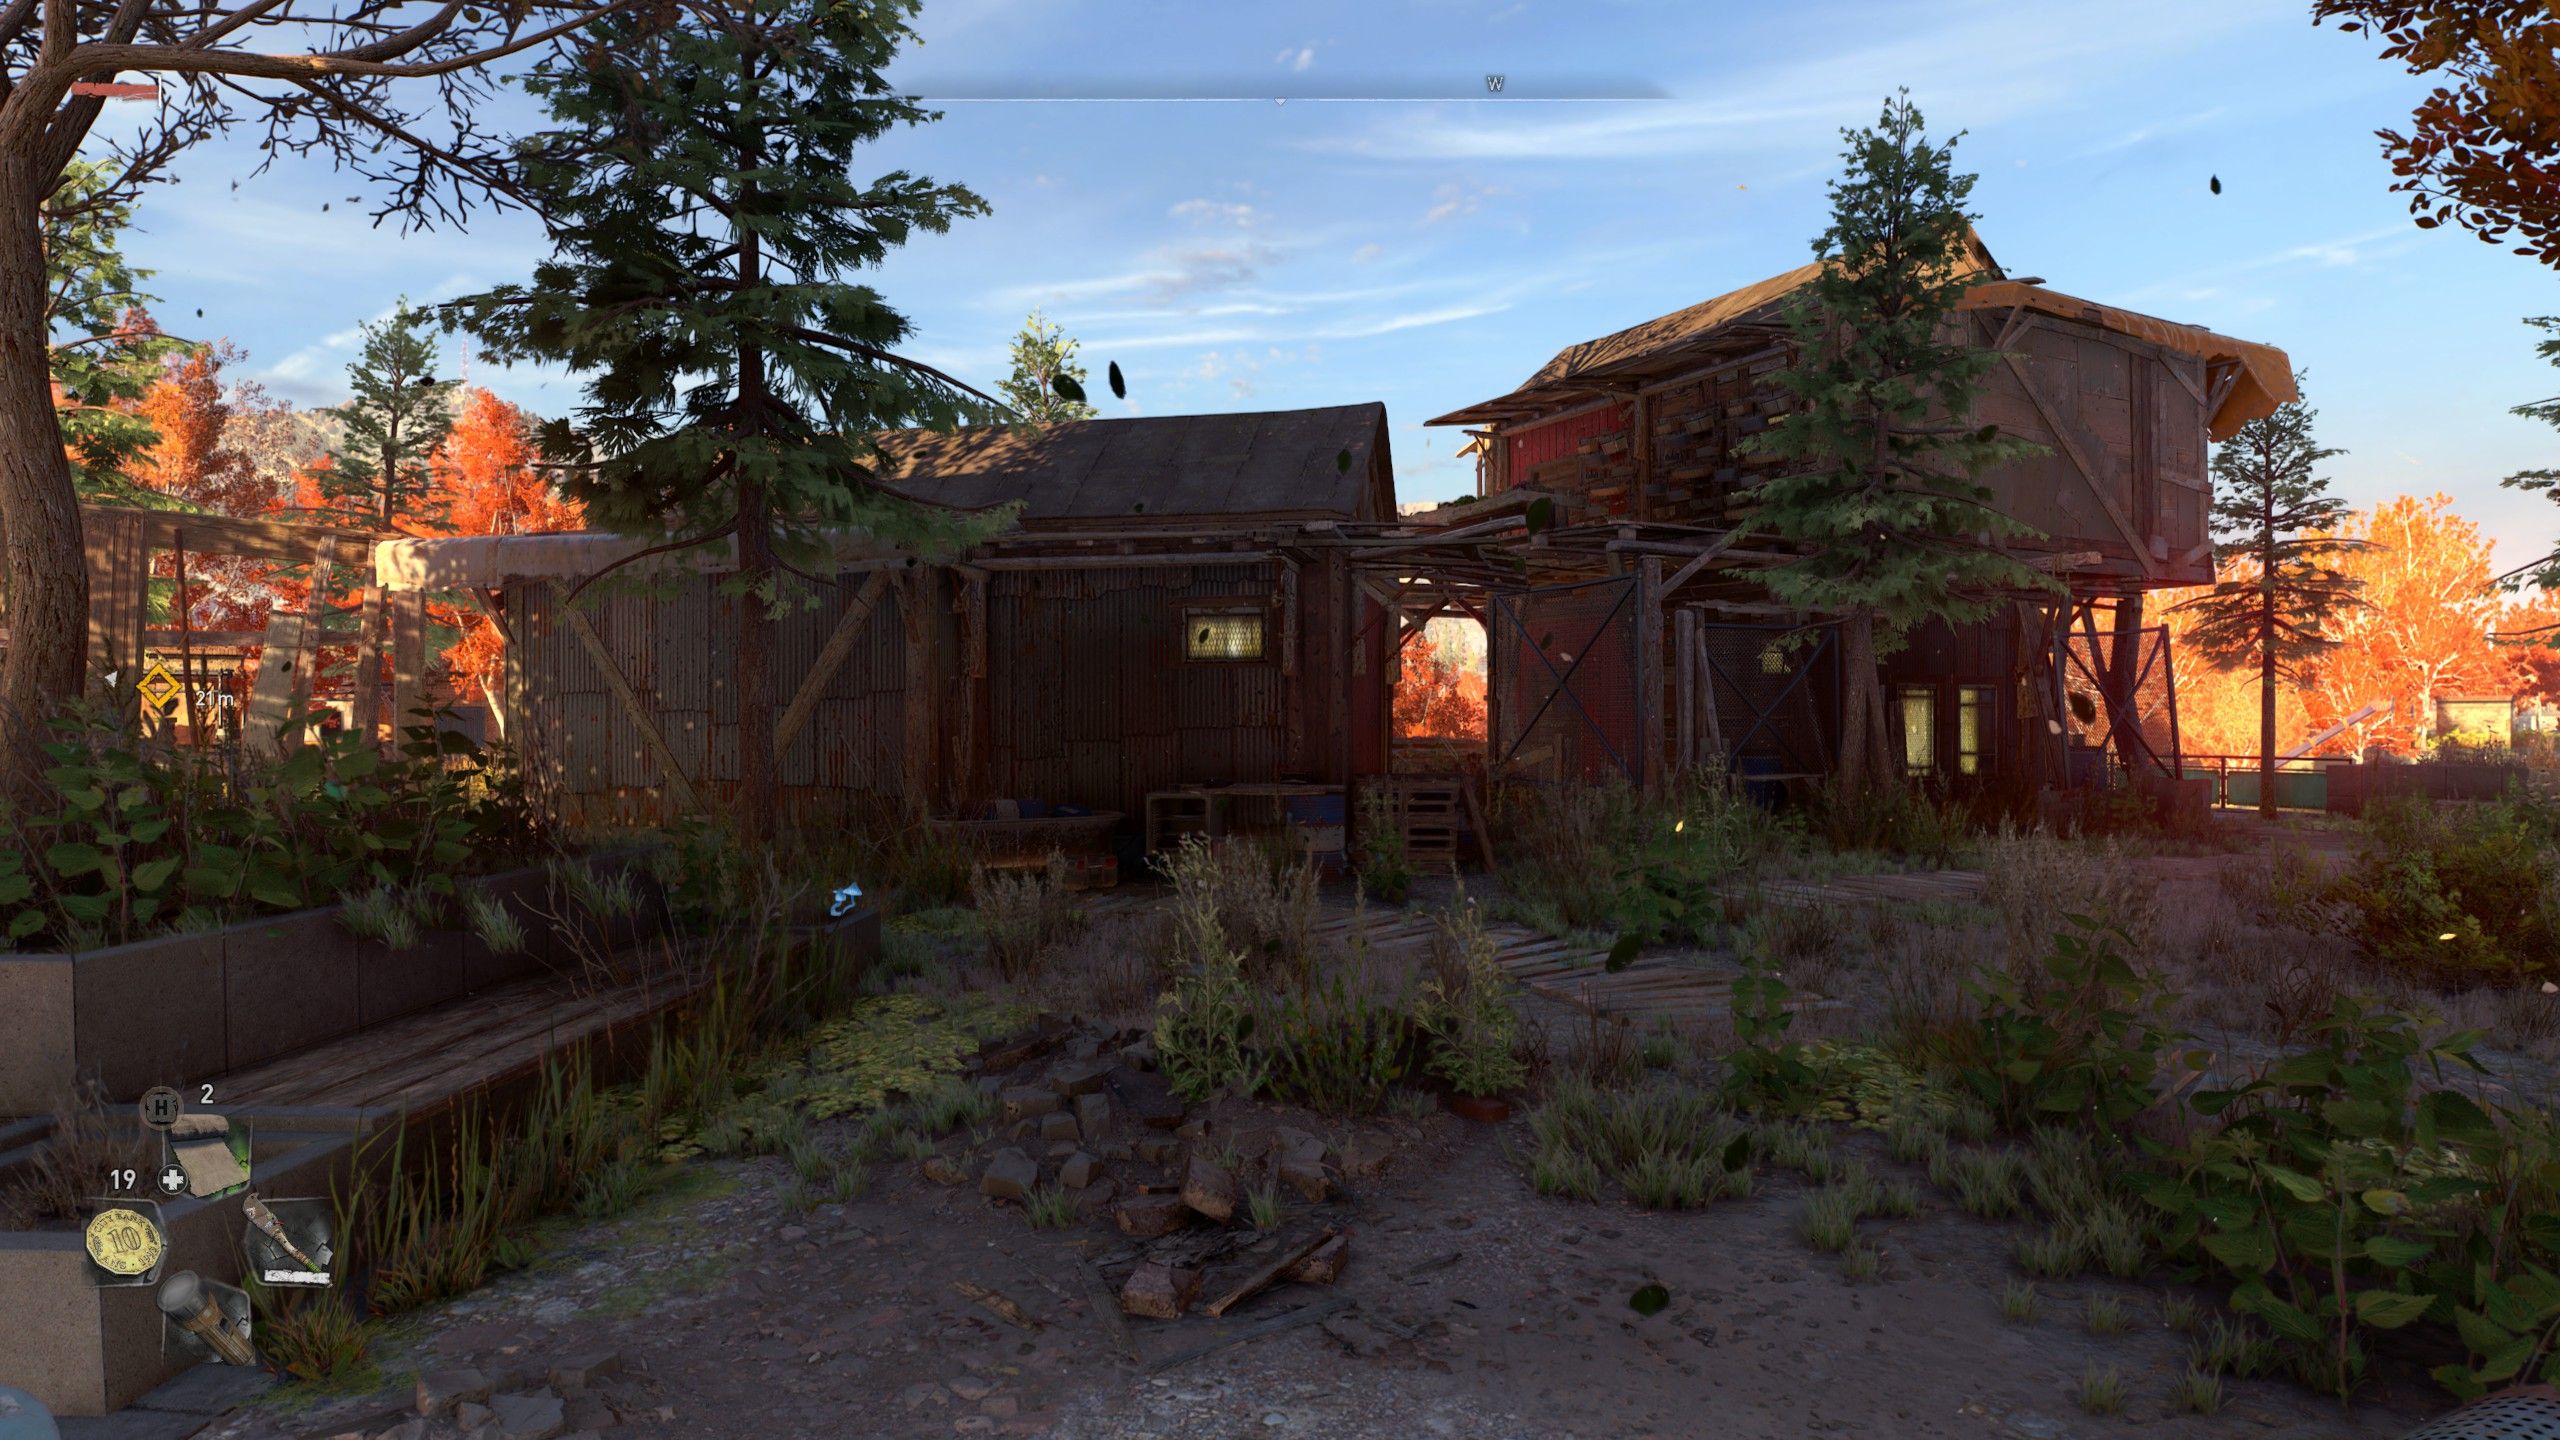
Dying Light 2 has its atmospheric moments, but you’re not missing out on much by turning the fog quality down. Simply going from high to low pushes up your performance by another 6%. Raytraced flashlight is quite specific in that it handles the way the light bounces from your flashlight. It doesn’t ask for much, but it also doesn’t give much, so you could save yourself up to 3% by switching it off.
As mentioned earlier, choosing your preferred upscaler mode will entirely depend on your setup. RTX users should jump on DLSS Quality given that it outshines other solutions. Otherwise, FSR and the built-in upscaler are system agnostic. The remaining settings don’t have much impact on performance, so you can tinker with them as you like.
It’s tough to recommend any ray tracing setting given the state of optimisation. On one hand, it’s difficult to give up ray tracing once you’ve tried it, but it’s not so transformative as to justify its performance tax. There are moments I’d stop to admire the view, but there are plenty more where the extra frames come in handy leaping from building to building. Overall, your mileage may vary.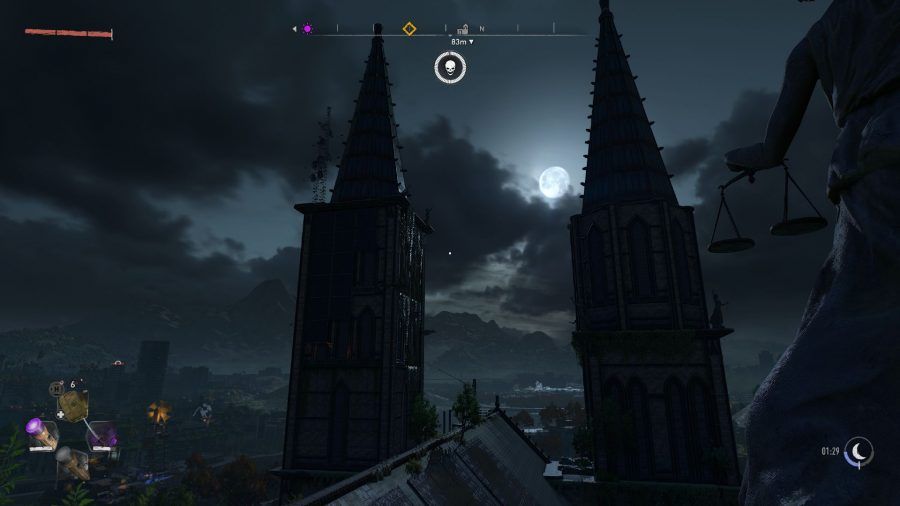
Bucking a recent trend, Dying Light 2 doesn’t have a dedicated accessibility menu like other modern games, but it does include settings that can give you an easier time in the Game tab. You can adjust subtitle size, colour, and background; swap quicktime events (QTEs) from tap to hold; and enable colourblind mode to make the image clearer.
There are also a few notable tools in the Controls tab, such as Ammortiser Landing Assist to help you automatically land on ammortisers, Edge Fall Assis to automatically save you from inadvertently falling off a ledge, and Auto Ledge Grab, which takes some time to get used to if you continue with it on by default.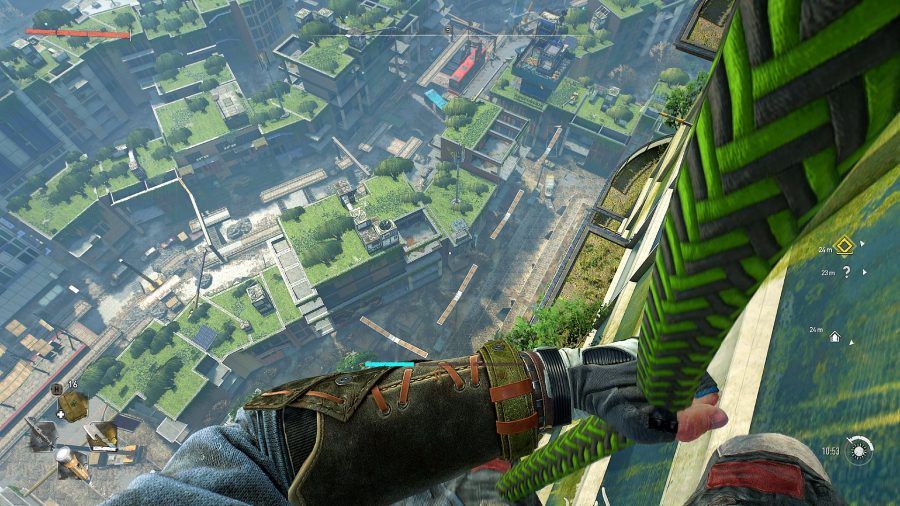
Our Dying Light 2 review focused on a rougher build of the game that was plagued with bugs. Techland has since remedied most of these problems in its ‘day one’ patch and continues to issue updates every other day.
Combined, the patches addressed NPC dialogue issues that blocked progression, inconsistent co-op connections, various crashes, the player’s inability to rebind controls, and plenty more. There are still some issues present, however, including texture and audio glitches that muddy the quality or remove them entirely. Your best bet is to keep Dying Light 2 updated in order to avoid any trouble.
Get involved in the conversation by heading over to our Facebook and Instagram pages. To stay up to date with the latest PC gaming guides, news, and reviews, follow PCGamesN on Twitter and Steam News Hub, or download our free app for Overwolf.
Damien Mason Hardware Editor
Updated:
As hardware editor, Damien’s sure of one thing: there are lots of acronyms in PC gaming. Thankfully, he knows his NVMe SSDs from his AIO coolers and VPNs. He also has words at KitGuru and ProPrivacy.


